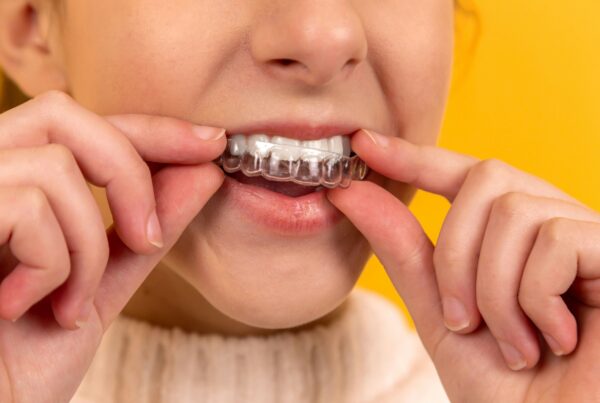
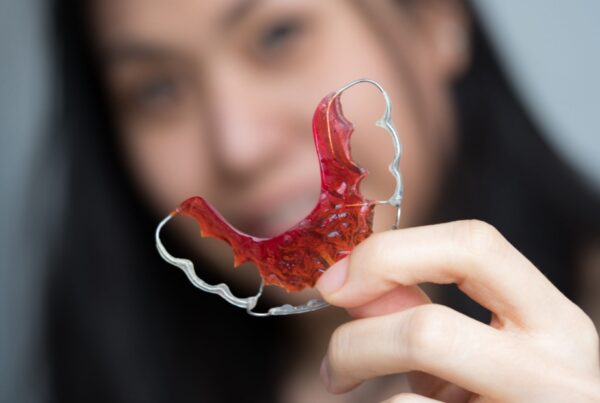
If you’ve got crooked teeth, braces are an obvious solution. But have you ever wondered how they are fitted?
In this post I explain the steps an orthodontist takes to fit braces. If you find this useful please share and if you have any questions, please leave them in the comments section below.
The fitting of braces usually requires two separate appointments.
The first appointment: Fitting spacers
Your first appointment will be fairly brief and usually takes place about a week before your second appointment. Spacers will be fitted in between your back teeth. These create space for bands to be fitted around your molars during your second appointment. Expect your teeth to feel a little bit uncomfortable and tight with the spacers fitted. This is very normal! You also need to be careful not to dislodge them with your tongue or toothbrush or with sticky foods.
The second appointment: Braces on
At Tōtara Orthodontists, we usually book the second appointment for late morning — when the clinic isn’t too busy. You will be with us for about an hour and a half, so I recommend you have a good morning tea beforehand and some mild pain relief, like Panadol, to ensure you are comfortable for the rest of the day.
Removing the spacers
The first step is to remove the spacers that were fitted during your first appointment. We will then give your teeth a good polish — even when clean, your teeth have a very thin coating that will prevent glue from setting on your braces.
Fitting the bands
The next step is to fit bands around your back molars. We will select a band that looks like it might fit (we have lots of sizes) and put it on the tooth. A special tool is used to fit the bands and we will ask you to help out by biting on, what’s known as, a “bite stick”. Fitting a band is a bit like fitting a shoe — we’ve got to find the right one.
The removal of the spacers and fitting of the bands is usually carried out by a skilled orthodontic auxiliary. As the orthodontist, I come in to make sure the bands are well fitted and make adjustments if necessary. I’ll then remove the bands from the molars and cement them back on.
Fitting the brackets
Next, the brackets are fitted. These are the little square-shaped metal or ceramic buttons that are attached to the other teeth in your mouth.
Before they can be fitted, though, your mouth must be very dry. This is very important so that the braces stay on the teeth. So, to absorb saliva, we’ll apply small absorbent pads to the corners of your mouth and use a small vacuum. We’ll also fit a kind of lip guard into your mouth that holds your lips out of the way — you won’t thank us for this; you’ll look a bit like a hapuka fish, but at least your mouth will be nice and dry.
We then squirt a jelly onto your teeth. This stays on for about 30 seconds before it’s washed off and a primer is painted onto your teeth, which will ensure the brackets stick.
Next, we work methodically around your mouth applying the brackets. A blue light is used to cure the glue and make sure it sets.
Once we’ve fitted all the brackets, your mouth no longer needs to be kept dry. So, we’ll remove the pads and lip guard.
Fitting the wires
The final stage is to apply a flexible wire, known as an “archwire”, through the tubes on the bands and brackets. The wire is held in place with either coloured o-rings or little gates, depending on the kind of braces you have chosen. We start off with a thin, flexible wire. Later, when your teeth become lined up, it is replaced by a thicker wire. We then make sure the ends of the wires are turned away so they don’t catch on your cheek.
Caring for your braces
It’s important that you understand how to properly care for your braces. So, once your braces are fitted, we take about 20 minutes to explain how to keep them clean, what foods to avoid and what to expect now your braces are fitted.
Did you enjoy this post? If so, please share.


